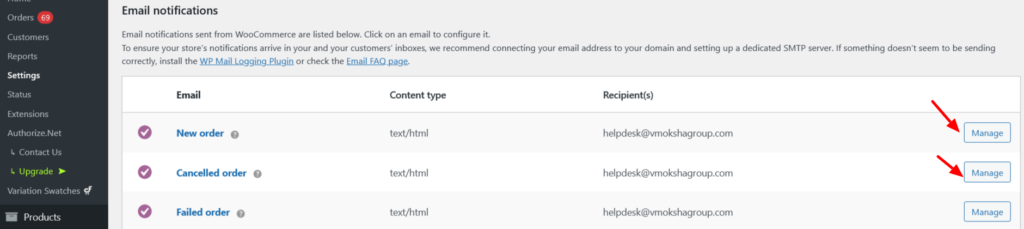
Able to change the recipient and mail content here by clicking ‘Manage’ button.
Video Tutorial
E-store
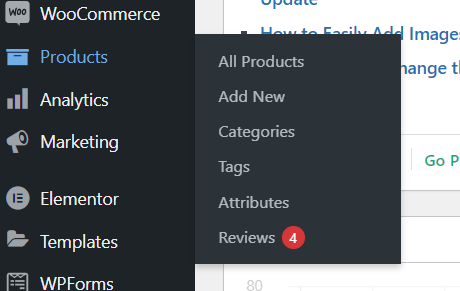
After activating WooCommerce Plugin, automatically ‘Products’ post type is also come with that.
Products
All products we can add in. Product name, price, variation prices, stock, category, product image, gallery images. all are can be added to this.
Seminar classes : we need to first fill up the registration form to move to another level.
Treatment products : Treatments products we can purchase like normal online products.
Single products: We can use a single type of product as a ‘simple product’.
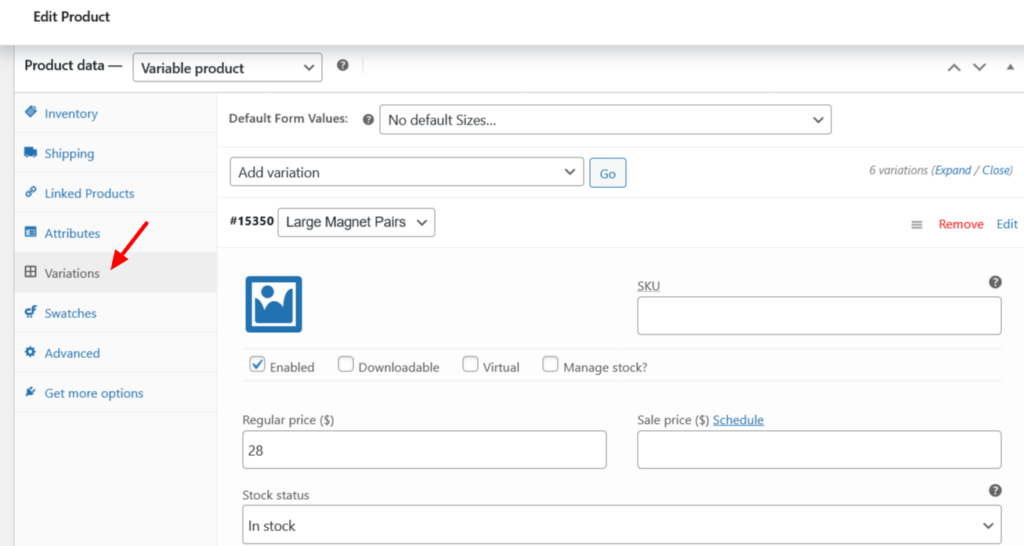
Variant Product: if a single product varies based on its size, weight, or something then we can add that as a ‘variable product’. This can help us to add one product only one time having all the variations. No need to add multiple times. We can separate each variation with “|” icon.
1. Each variation created using the ‘Attributes’ tab
2. Add price, image, stock, etc will be can be added in ‘Variations’ tab for each attributes.